Your first CAD app does not need to do everything. It needs to make one small project understandable: how to create something, change it, save it, and use the result.
Choose the project before the app. A room layout teaches different habits from a printable part. Learning both at once adds work that does not help you finish either one.
Pick a first project you can describe
A useful first project has a clear finish line. Try “a simple block with known dimensions,” “one furnished room,” or “a basic table made from components.” Avoid starting with an entire house, a complicated mechanical assembly, or a faithful replica of an irregular object.
Write down what must be true at the end. For a room, that might be the correct wall lengths and space to move around the furniture. For an object, it might be the overall dimensions and a file you can open in the next program.
This gives you a way to judge progress beyond whether the model looks impressive on screen.
Choose a workflow that matches the idea
Starting from shapes: 3D Print Designer documents modeling tools and STL/OBJ exchange. It is relevant when your goal is a printable object. CAD Smart Modeling describes broader geometric and surface modeling, although its source does not name specific export formats.
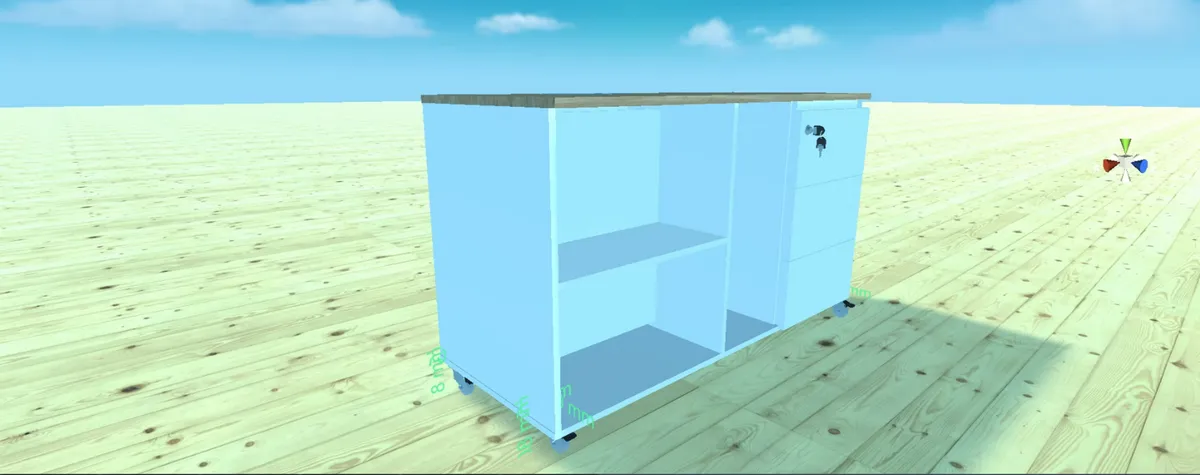
Starting from components: DIY CAD Designer supplies libraries of beams, boards, sheets, and rods. A component-based project can help you think about how a furniture assembly fits together. This is a workflow observation, not a verified claim that the app is easier than another tool.
Starting from rooms: smart3Dplanner2 combines floor-plan drawing, furniture, and 3D visualization. Smart Home Design offers a similar project area with documented first-person viewing and photo tools. Compare the specific features that matter to your layout.
The official pages explicitly describe beginner suitability for 3D Print Designer, CAD Smart Modeling, and smart3Dplanner2. We attribute that claim to the developer; we do not turn it into a usability score.
Learn these habits before adding detail
Spend your first session learning how to move around the view, select the intended object, change a dimension, and reverse an edit. Practice on something you can afford to discard. Accidentally moving the camera instead of the object is much less frustrating in a practice file.
Use known measurements rather than guessing scale from the screen. Check a familiar dimension after an import or export. Save a separate copy before a major change and reopen the file once to confirm you know where it is stored.
Add detail only when the main shape or layout works. In a room, establish the walls and openings before decorating. In a furniture project, establish the overall assembly before spending time on materials.
Run a small trial before a big commitment
Use this checklist while exploring an app:
- Can you select and change the object you intended?
- Can you find and correct a measurement?
- Can you save, close, and reopen the project?
- If another tool needs the result, can it open your export?
- Are the functions you need available in the edition you plan to use?
Keep notes about the step that caused difficulty. Sometimes you need one tutorial; sometimes the app’s workflow does not suit the task. That distinction is more useful than deciding that you are “bad at CAD.”
Build on a completed small project
Once the first project works, make a variation. Change a room arrangement, alter a dimension, or replace a component. Repeating a known workflow with one difference helps you understand what each operation does.
Use the App Finder to match your device and project. For your first printing handoff, the next useful exercise is creating an STL file, including checking it in a separate viewer or slicer.
Explore the apps in this guide

3D Print Designer
Create and edit 3D models, then export STL or OBJ files for your printing workflow.

DIY CAD Designer
Plan furniture and DIY builds in 3D with libraries of beams, boards, sheets, and rods.

CAD Smart Modeling
Explore 3D modeling for product ideas, architecture concepts, and DIY designs.

smart3Dplanner2
Draw floor plans, furnish rooms, and share your 3D interior designs.

Smart Home Design
Create 3D floor plans, arrange furniture, and explore rooms in first person.